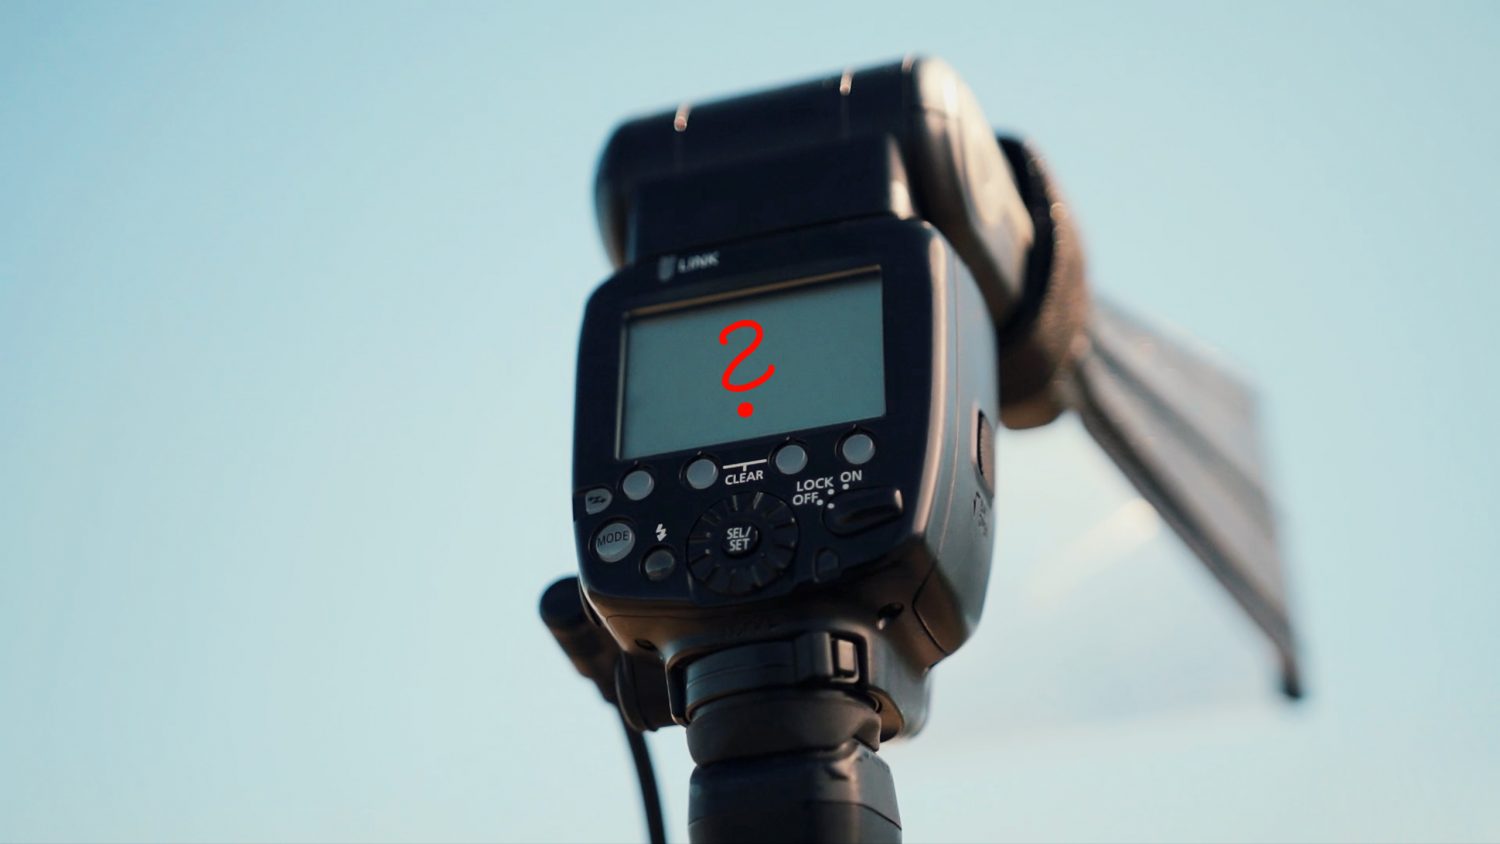
Finding the Right Settings
Firstly we need a flash. All major camera brands have a variety of options and most of them work for wildlife photography.
I use a Canon 600 EX.
Once you have set up the flash, set it to manual mode. A lot of people will recommend using TTL or ETTL, but I urge you to use manual mode to maintain full control over what the flash does. When you don’t use manual mode, the power of the flash will vary between the frames taken and will make it hard to find the right and reliable setting. Just like the flash, I also have my camera set to manual mode.
It’s also important to set the flash to High Speed Synchronisation, without it, the camera won’t allow you to shoot above the sync speed, which is usually a 1/200th of a second. That’s not enough shutter speed for wildlife photography, hence we have to set the flash to high speed mode, which means the output will be less powerful, but it allows us to shoot at faster shutter speeds. If you don’t set the flash to high speed and need a fast shutter speed than 1/200, the camera won’t let you do it and you will likely get lots of blown out images.
Once this is done, it’s comes to finding the right power setting. To be honest, there’s no perfect setting and it all depends on the situation you are in. The best way to determine the right setting is to take test shots. Check out my video series to see how I find the right settings in the field.
With experience you will get a feel for the right setting, but in the beginning, I would recommend to simply start at a certain setting (1/32 power), take a shot, check it on the back of the camera and then add or reduce power, until you create the nice and even look we are after.
Generally speaking, the darker your scene, the less flash power you need and the brighter the scene, the more flash power is needed. For overcast, I usually shoot between 1/64th and 1/8th power. In darker shade 1/128th to 1/16th power. And if I have to deal with a bright background and dark subject or harsh sunlight, I use power settings between 1/4th and full power.
Besides picking the correct flash setting, it’s also important to expose the images properly and as far to the right of the histogram as possible, maintaining maximum detail for editing.
Check out my video guide, to see how I find the right settings and use my flash in the field.
What Equipment do I use?
Camera (Canon 5 D Mark IV)
Lens (Canon 600 L IS II)
Flash (Canon 600 EX)
Tripod (Gitzo)
Tripod Head (ideally compatible with flash brackets) (Wimberley Head II)
Flash Mounting System (Flash Brackets) Wimberley F9 Brackets
Extension (so I can attach the battery Pack) Wimberley M-6 Module
Flash Extender (I use a Better Beamer)
Flash Cords (Normal cored and Y connector to connect to both outlets of the battery)
Batteries for the Flash
External Battery Pack (optional, but needed for serious use) (Flashpoint Blast Pack)
In the below image you can see my full set up, consisting of
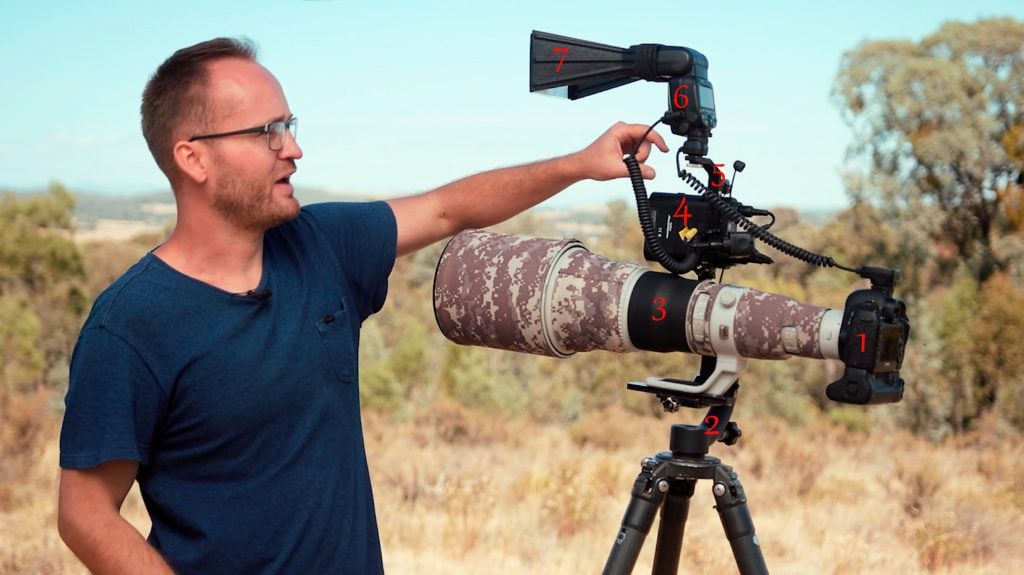
1. Camera
2. Tripod Head Head
3. 600 mm lens
4. External Battery Pack and Cords
5. Flash Brackets
6. Speedlight Flash
7. Flash Extender (Better Beamer)
Most of the equipment is pretty self-explanatory. Some might ask, why not mount the flash on top of the camera?
The main reason for that is that it will be too close to the centre of the lens. This can lead to ‘steel’ eyes in your subjects. Mounting the flash on a bracket above the lens, removes that problem and lights the scene better.
External Battery Pack
I said above that it’s optional, but I would highly recommend using one. The main reason is that the flash in high speed mode does not recycle fast without an additional power source. High speed mode requires the flash to use more power to keep up with the higher shutter speed and thus it takes longer for it to recycle. By adding an external battery pack, we can reduce the recycling time dramatically and get more images flashed. At some point, however, the flash won’t be able to keep up. No matter what we use.
Meaning that the faster the shutter speed, the less images will be flashed. That’s not ideal, but impossible to avoid with the current technology.
Also, the higher the power on the flash, the longer it will take to recycle. So in situations where a lot of power is needed on the flash in addition to higher shutter speeds (bright days), it’s best to not just fire away, but to rather wait for the right moment, to ensure the images you want are flashed.
If you are not using high speed sync, thus shooting under 1/200, your flash will fire on every single frame.
I am using a flash point Blast Pack, which you can buy an additional Y-connector cord for, which allows me to connect one flash cord into both outlets of the battery, cutting recycling time down a fair bit. The identical battery pack is available from different brands and is quite cheap, when compared to other photo products ($120USD ish)
Flash Extender
There are many different models available, I use a cheap and simple one. This handy tool allows me to increase the reach of the flash beam, by channeling it. Without one, the reach of the flash is not far enough to light the subject sufficiently at a distance.
Most flash extender models require a certain zoom setting on the flash, it’s best to refer to the manual of your flash extender to see what the correct setting is. It’s important to check your settings from time to time, especially after a battery change on the flash, because sometimes it loses all the settings! It’s also important to make sure the flash extender sits on the flash properly and has the right angle. Otherwise the beam might hit too high or too low and won’t light the image. I take a few quick test shots each time before I use it.
Generally, the larger the distance the more power you will need to reach your subject, but it also depends on the light situation, in bright conditions the flash needs a lot more power to be impactful. Whereas in dark situations I sometimes have to take the extender off, because it creates a too strong flash, even at the lowest power setting. In such a situation, removing the extender will help you lessen the power further. As you can see finding the right setting is really trial and error, as pointed out above.
Let’s go out there and try it!
All in all, using flash to enhance your images is not that difficult. It might seem daunting and overwhelming at first, but with a bit of trial and error, you will quickly be able to take full advantage of your flash and open up new possibilities. Simply find the right exposure on your camera that is best for the given scene. Then find the right amount of flash, dial the power up or down depending whether the image needs more or less flash. Done!
Check out my free eBook “5 Common Mistakes Most Bird Photographers Make – And How To Avoid Them”